
Understanding Vapor Barrier Installation
What is a Vapor Barrier?
A vapor barrier is a material designed to prevent moisture from penetrating the space it covers. Typically installed in basements and crawl spaces, it serves to mitigate the movement of water vapor from the ground into the home. This is crucial in areas prone to moisture, as excessive humidity can lead to structural damage, mold growth, and an overall unhealthy living environment. By acting as a shield, a vapor barrier creates a dry space that enhances comfort and energy efficiency.
Importance of Vapor Barrier Installation
Installing a vapor barrier is essential for several reasons. Firstly, it protects the interior of your home from moisture damage, which is a leading cause of mold and mildew growth. Secondly, it plays a significant role in improving HVAC efficiency, as moisture can interfere with heating and cooling systems. Additionally, a well-installed vapor barrier can enhance indoor air quality by reducing allergens, keeping your living space healthy and comfortable. Proper Vapor Barrier Installation can ultimately save homeowners significant repair costs in the long run.
Common Materials Used
The choice of material for a vapor barrier can significantly impact its effectiveness. The most common materials used include:
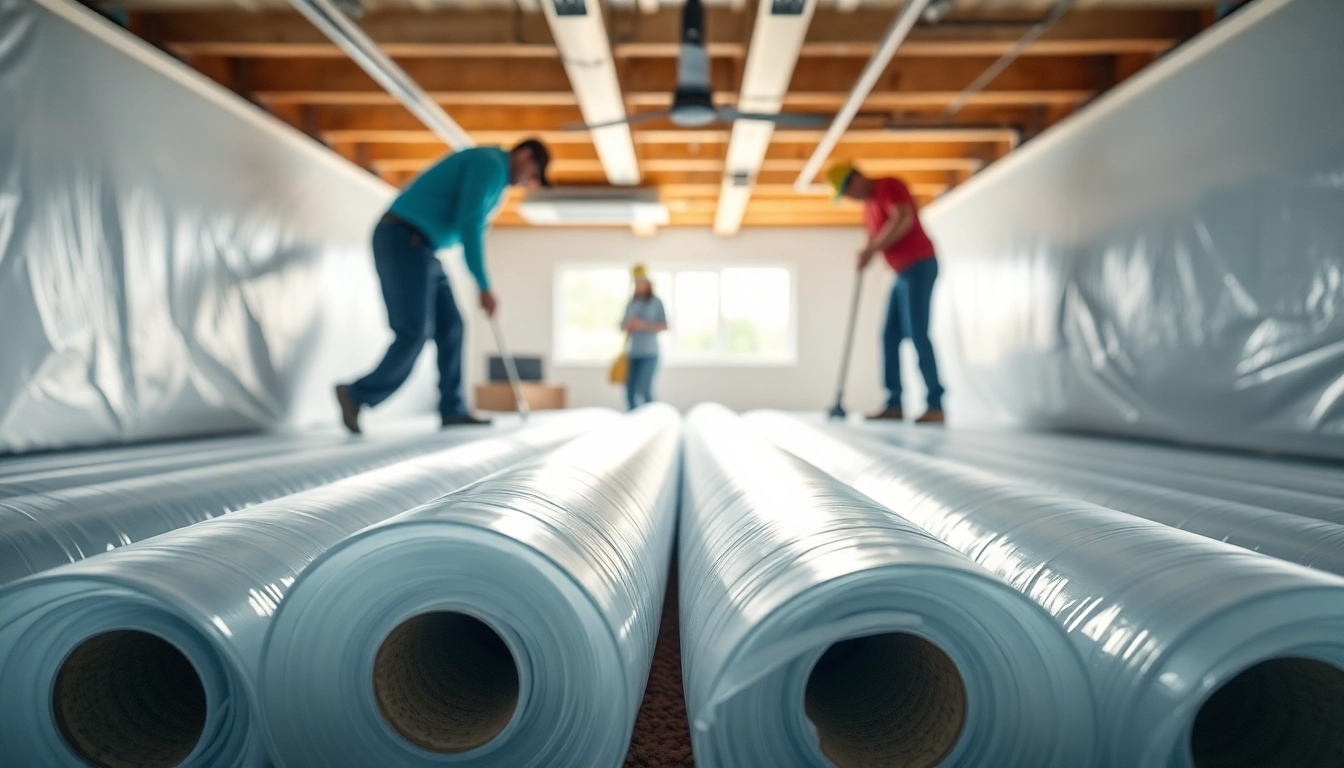
- Polyethylene Sheeting: Typically 6 mil to 20 mil thick, this plastic sheeting is resistant to moisture and is widely used in residential applications.
- Foil-Faced Paper: This type of barrier reflects heat away from the home and is favorable for retaining energy.
- Reinforced Laminate: Made with a thicker composition, this material combines durability and moisture resistance, ideal for high-humidity areas.
Planning for Installation
Assessing Your Crawl Space
Before you begin the installation process, it’s crucial to assess your crawl space to understand its specific needs. Look for signs of moisture intrusion such as dampness, mold, or standing water. Evaluate the overall condition of the walls and floors, and check for any pre-existing problems—like cracks in the foundation or poor drainage. This assessment will guide you in determining the type of vapor barrier suitable for your specific circumstances.
Tools and Materials Required
Preparation is key to a successful vapor barrier installation. Below is a list of essential tools and materials you will need:
- Vapor barrier material (e.g., polyethylene sheeting)
- Utility knife
- Measuring tape
- Duct tape or seam tape
- Stapler or adhesive (if needed)
- Gloves and safety glasses for protection
Key Considerations Before Installing
Before diving into installation, consider the following factors:
- Crawl Space Ventilation: Ensure proper ventilation to maintain air quality.
- Moisture Source: Identify and address sources of moisture to maximize the effectiveness of your vapor barrier.
- Installation Thickness: Choose an appropriate thickness based on local climate conditions and space usage.
Step-by-Step Installation Process
Preparing the Area
Begin the installation by preparing the crawl space. Clear out any debris, old insulation, or other materials that may obstruct the vapor barrier’s placement. Make sure the space is dry and free from sharp objects that may puncture the barrier. If there is standing water, consider using a sump pump to resolve the issue before proceeding.
Installing the Vapor Barrier
Once the area is prepared, it’s time to lay down the vapor barrier:
- Unroll the vapor barrier material across the crawl space floor, overlapping seams by at least 12 inches.
- Secure the barrier around the perimeter using duct tape or adhesive, ensuring it is tightly sealed against the walls.
- If the vapor barrier extends up the walls, ensure it is high enough to prevent moisture ingress around the foundation.
Sealing and Finishing Touches
After placing the vapor barrier, seal all seams with duct tape for added security. Pay special attention to areas around pipes or ducts where moisture can seep through. This step is critical for establishing a complete barrier against moisture. Finally, consider inspecting the area once more to ensure all gaps and seams are adequately sealed.
Post-Installation Care
Monitoring Moisture Levels
Following installation, it’s vital to regularly monitor moisture levels in your crawl space. Use a moisture meter to track humidity and detect any fluctuations that may indicate a failure in the vapor barrier. Ideally, keep humidity levels below 60% to prevent mold growth.
Maintaining Your Vapor Barrier
Maintaining your vapor barrier involves periodic checks to ensure its continued effectiveness. Inspect for tears or signs of wear, especially after heavy rainfall or snowmelt. Repair or replace sections as necessary to maintain a proper barrier against moisture.
Signs of a Failing Vapor Barrier
Recognizing the signs of a failing vapor barrier early can save you from costly repairs. Common indicators include:
- Mold growth on walls or flooring
- Increased humidity levels in the crawl space
- Musty odors around the home
- Visible water stains on walls and floors
FAQs About Vapor Barrier Installation
How long does a vapor barrier last?
A vapor barrier can last from 5 to 25 years, depending on the material and conditions.
What materials are best for vapor barriers?
Common materials include polyethylene sheeting, foil-faced paper, and reinforced laminate.
Can I install a vapor barrier myself?
Yes, if you follow guidelines and safety protocols, DIY installation is feasible.
How does a vapor barrier affect home energy efficiency?
Proper installation can enhance energy efficiency by reducing moisture and improving insulation.
When should I replace my vapor barrier?
Replace your vapor barrier if you notice tears, mold, or persistent moisture issues.